


On my Lightroom workshops & ‘QUICK FIXES‘ one of the most popular things we cover is retouching skin, brightening eyes and whitening teeth on a portrait using the healing tool and adjustment brushes to create the perfectly natural portrait. On my personal branding sessions I ‘beauty re-touch’ all the portraits that get selected. I don’t want to ‘airbrush’ to the point that my subject looks unrecognisable to their clients – but I do want to help someone feel confident to share their portrait – its them on a good hair/skin day!
So let’s learn how to whiten teeth in Lightroom…
Let’s start with a portrait that has been edited with a preset – this image uses my preset ‘Paint’ from my Fine Art Collection.
Then cover 1: Skin Retouching and 2: Eye Brightening in the previous posts of this series. Below is the straight out of camera unedited picture, one with my Paint preset applied and finally the finished retouched image. (Left to Right)



So how did we get this result with the teeth…pretty simple….
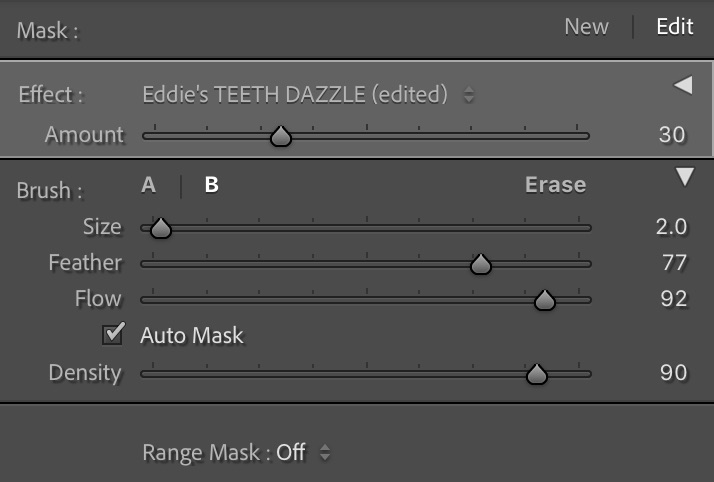
STEP 1: Using your Eddie’s TEETH WHITENING brush which is available as part of my TOOLBOX set.
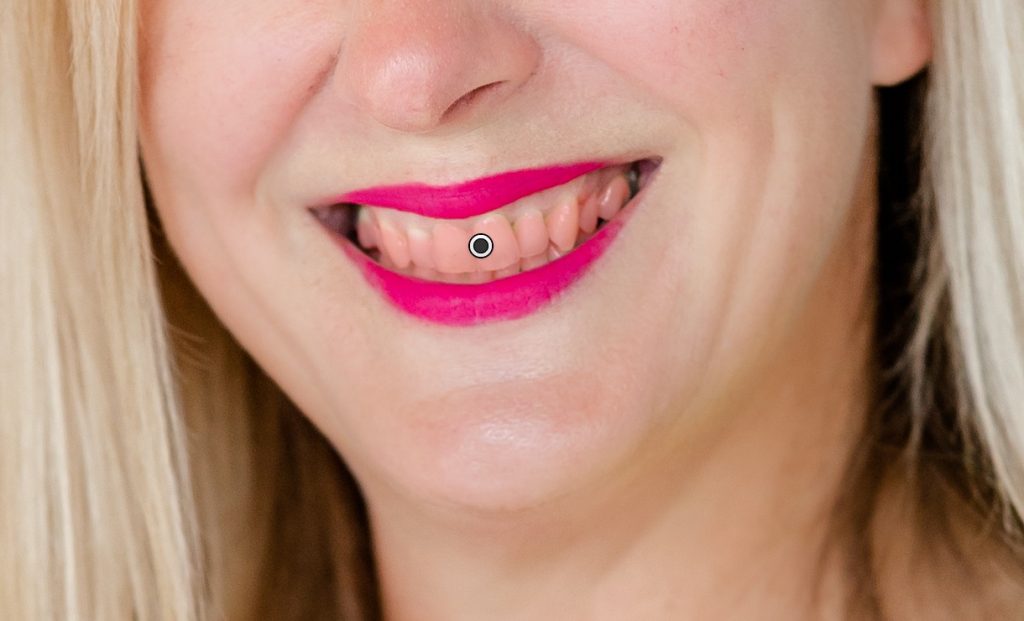
STEP 2: Have a brush that is about the size of half a front tooth and brush over the teeth, being careful to avoid the lips and gums – making sure again that the Auto Mask option is ticked.
STEP 3: Adjust the amount down to around 30 to make sure you haven’t gone for a Simon Cowell-like set of blinding teeth!
THATS IT! TEETH DONE! NEXT in the series I will look at further problem solving retouching such as grey roots – so hop over there and you will have successfully done the 3 basic retouching stages that you need to do for a great looking portrait.
If you would like to cover these steps with me over a 1-1 virtual Zoom call then book on my QUICK FIX here and I can help you with this, or any other troubleshooting issue you are having with Lightroom such as workflow or presets.